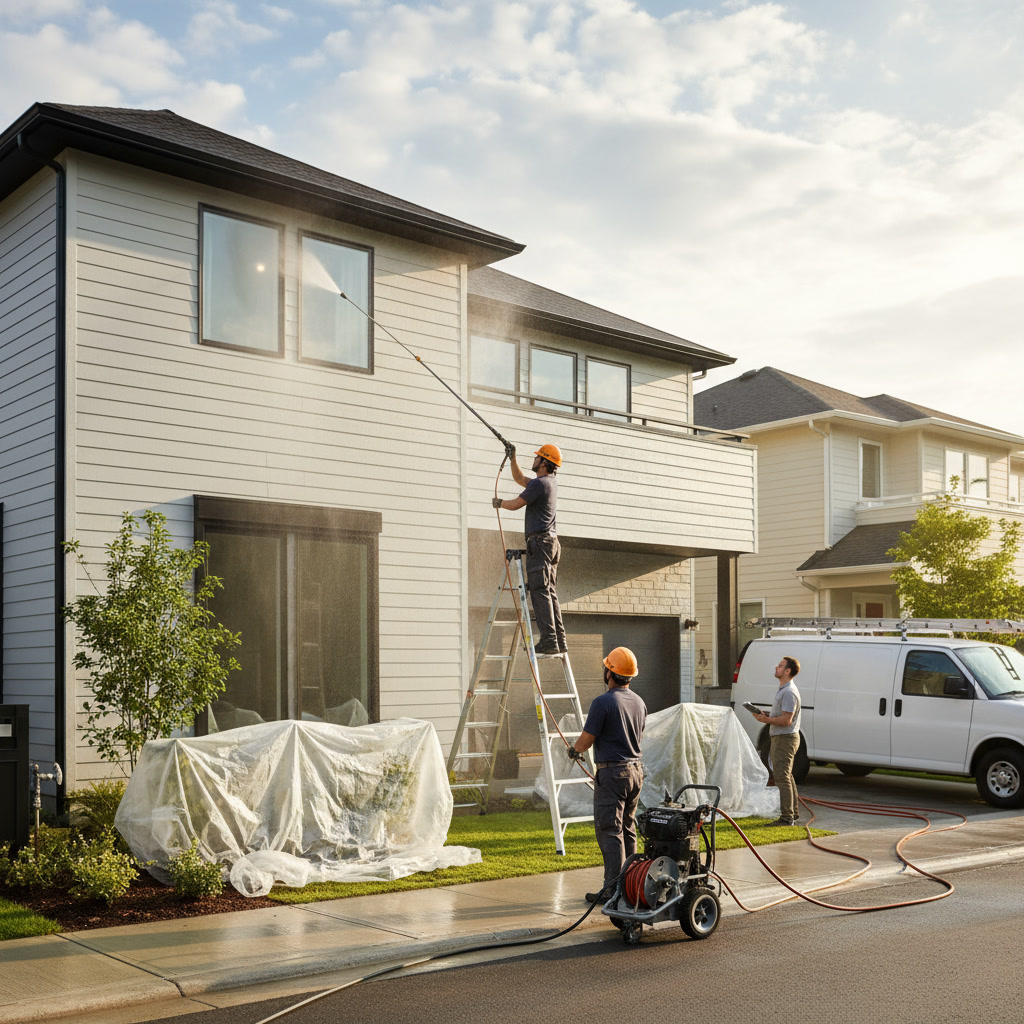
The debate over concrete sealing vs cleaning comes down to a simple rule: always clean first, then seal. Attempting to seal over dirty concrete traps contaminants beneath the surface, leading to premature failure and wasted money. Professional cleaning removes oil stains, dirt, mold, and efflorescence that prevent sealers from bonding properly to the concrete surface.
Your driveway endures constant exposure to vehicle fluids, weather extremes, and organic growth. Without proper preparation, even the highest-quality sealer will peel, flake, or discolor within months. The cleaning phase sets the foundation for sealer performance, making it the critical first step in any concrete protection project.
Why Concrete Surface Preparation Determines Sealer Longevity
Concrete acts like a sponge, absorbing oils, chemicals, and moisture deep into its porous structure. When you apply sealer over these contaminants, it forms a barrier over the surface layer only. The trapped substances continue breaking down the concrete beneath, causing the sealer to separate from the substrate.
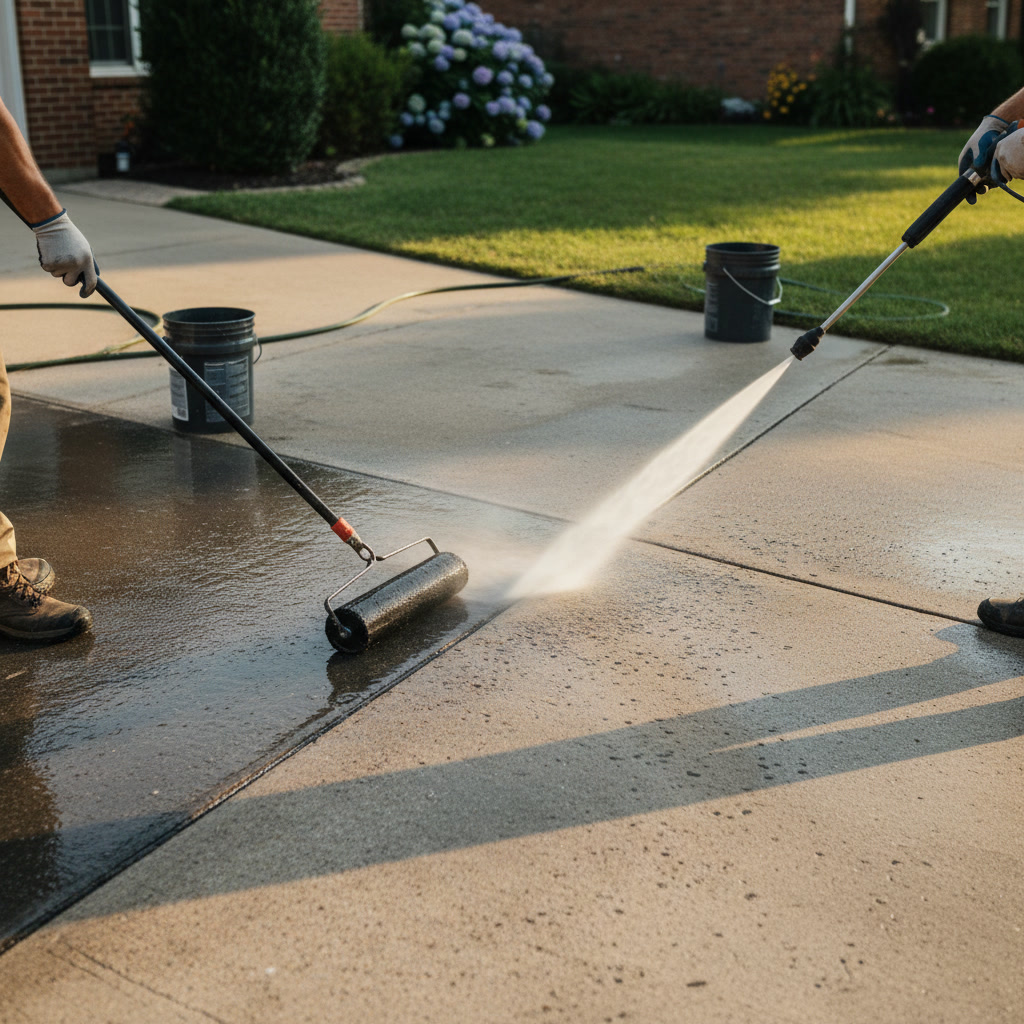
Professional concrete cleaning uses targeted pressure levels between 3,000 and 4,000 PSI to penetrate surface pores and extract embedded grime. Chemical pre-treatments dissolve oil-based stains that water pressure alone cannot remove. This deep-cleaning approach creates the clean, open pore structure that sealers need to chemically bond with the concrete.
The Hidden Costs of Sealing Over Dirty Concrete
Skipping the cleaning step might save an hour of labor, but it guarantees premature sealer failure. Most concrete sealers cost between $0.50 and $2.00 per square foot for materials and application. When the sealer fails in six months instead of lasting three to five years, you pay for removal, re-cleaning, and re-sealing.
Trapped moisture beneath a sealer also creates white, cloudy patches called blushing. This moisture cannot escape through the sealed surface, so it moves laterally through the concrete, carrying salts and minerals that create permanent staining. Fixing blushing requires grinding down the concrete surface and starting over.
How Professional Cleaning Prepares Concrete for Sealer Application
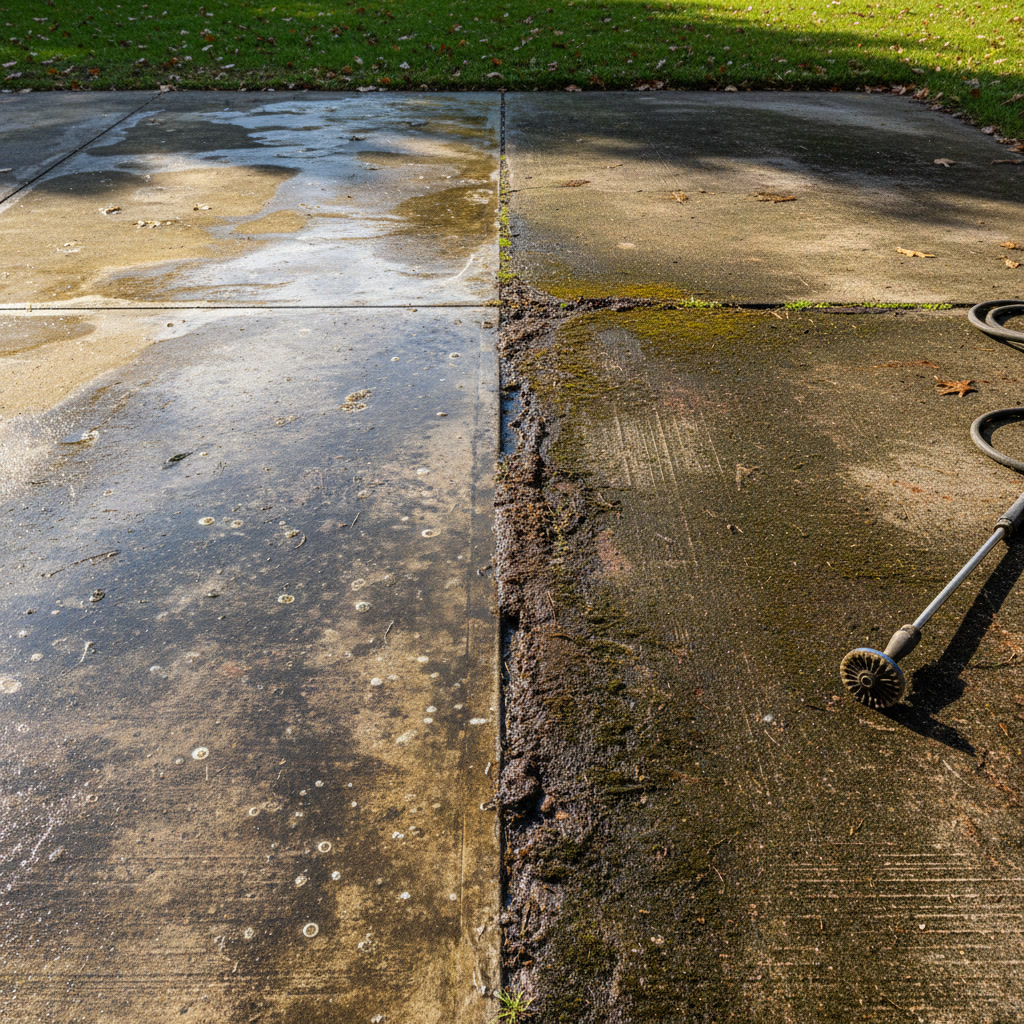
The cleaning process begins with a thorough inspection to identify problem areas. Oil stains receive degreaser pre-treatment that sits for 10 to 15 minutes, allowing chemicals to break down petroleum bonds. Rust stains need acid-based cleaners, while organic growth responds to biodegradable detergents.
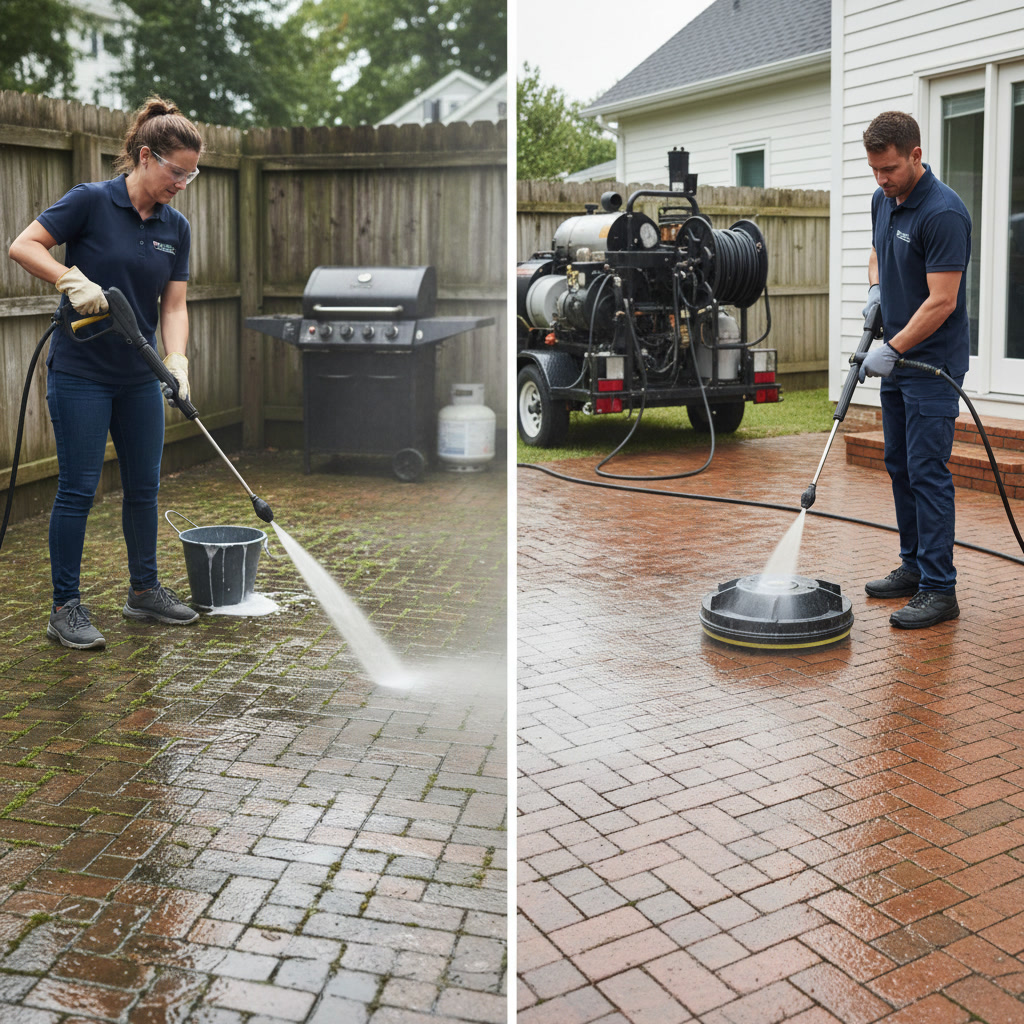
High-pressure washing follows chemical treatment, using rotating surface cleaners that maintain consistent distance and pressure across the entire driveway. This equipment prevents the striping and etching that handheld wands often create. The final rinse removes all chemical residue and loosened debris, leaving a neutral pH surface ready for sealing.
Optimal Drying Time Between Cleaning and Sealing in Patchogue
Concrete must reach moisture content below 4% before sealer application. In typical Long Island conditions, this requires 24 to 72 hours of dry weather. Humidity, temperature, and concrete thickness all affect drying time. Sealing damp concrete traps moisture that will cause the same blushing and adhesion failures as skipping the cleaning step.
Professional contractors use moisture meters to verify dryness rather than guessing based on time elapsed. Spring and fall offer the most reliable drying conditions, with moderate temperatures and lower humidity. Summer heat speeds surface drying but can leave moisture trapped in deeper layers, while winter cold prevents proper sealer curing.
Step-by-Step Process for Cleaning Before Sealing
The correct sequence ensures maximum sealer performance and lifespan. Following these steps in order prevents common mistakes that compromise results.
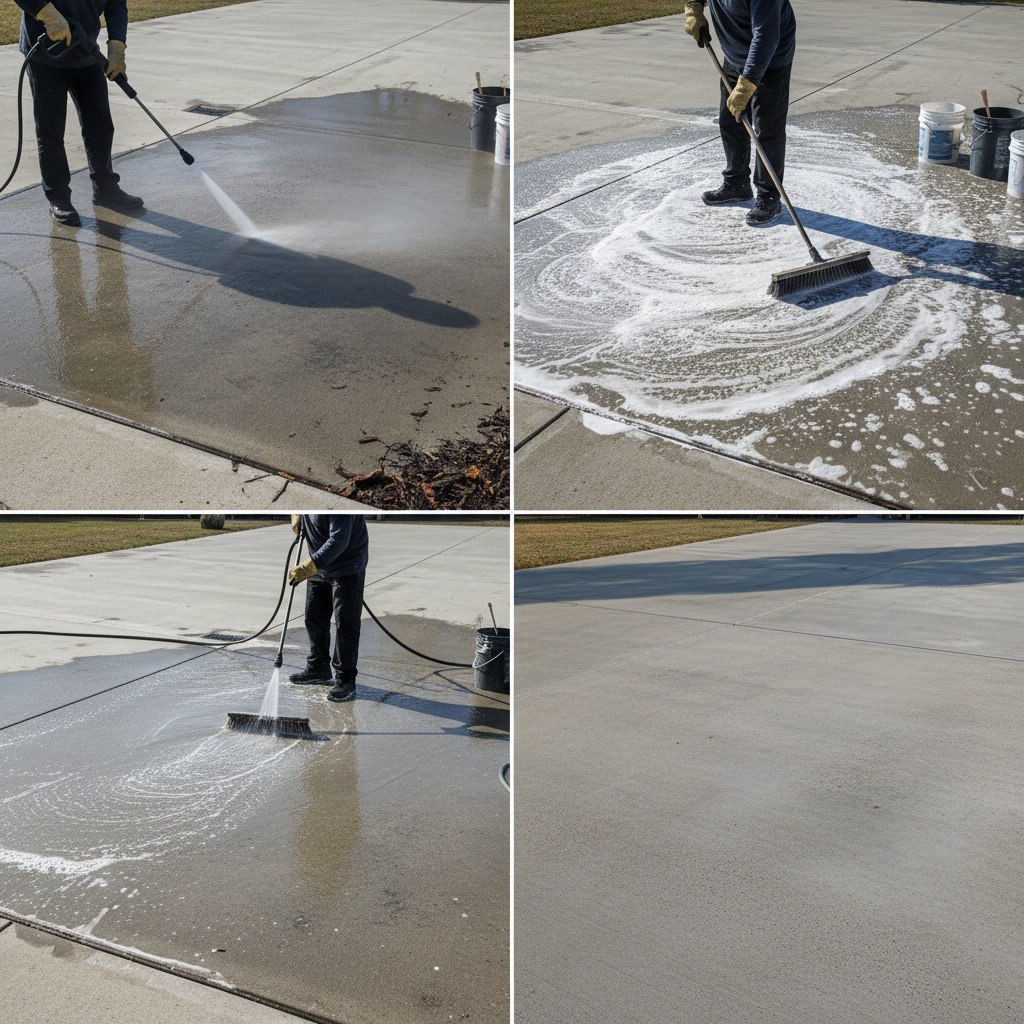
Step 1: Remove all vehicles, planters, and loose debris from the concrete surface. Sweep thoroughly to prevent grinding dirt into the concrete during cleaning.
Step 2: Apply appropriate pre-treatment chemicals to stained areas. Oil stains need degreasers, rust requires oxalic acid, and efflorescence responds to mild acid washes.
Step 3: Perform pressure washing services using professional-grade equipment at the correct PSI for your concrete age and condition. New concrete under one year old needs lower pressure than older, cured surfaces.
Step 4: Rinse completely with clean water, ensuring no chemical residue remains. Residue creates adhesion barriers and can react chemically with sealers.
Step 5: Allow full drying time based on weather conditions and moisture meter readings, not calendar days alone.
Step 6: Apply sealer according to manufacturer specifications, typically requiring two thin coats rather than one thick application.
What Happens When You Reverse the Order
Some property owners attempt to clean sealed concrete, hoping to refresh its appearance without full resealing. This approach fails because sealers create a non-porous barrier that prevents cleaning solutions from reaching embedded stains. Pressure washing sealed concrete can also damage the sealer itself, creating thin spots and uneven protection.
Removing failed sealer requires chemical strippers or mechanical grinding, both adding significant cost and time to the project. Chemical strippers need careful handling and disposal, while grinding creates dust and removes a thin layer of the concrete surface. Either method means starting over with cleaning and sealing, making the shortcut far more expensive than doing it correctly the first time.
How Different Concrete Surfaces Affect the Cleaning Timeline
Driveways represent the most common sealing project, but patios, walkways, and garage floors each present unique challenges. Garage floors often contain the heaviest oil contamination, requiring multiple degreaser applications and extended dwell time. Some oil stains penetrate so deeply that complete removal becomes impossible, though cleaning still removes enough contamination for sealer adhesion.
Decorative stamped or colored concrete needs gentler cleaning methods to preserve surface treatments. Excessive pressure can fade integral color or damage stamp patterns. These surfaces require experienced technicians who understand how to balance thorough cleaning with surface protection, similar to the precision needed for other specialized exterior cleaning services.
Sealer Types and Their Cleaning Requirements
Acrylic sealers form a thin topical film and require the cleanest surface preparation. Even microscopic contamination prevents proper adhesion, causing peeling within months. These budget-friendly sealers work well for decorative applications but need reapplication every one to three years.
Penetrating sealers soak into the concrete pores rather than forming a surface film. While more forgiving of minor surface contamination, they still require thorough cleaning to prevent clogged pores that block sealer penetration. These sealers last five to ten years but offer less surface gloss than acrylics.
Epoxy and polyurethane sealers provide the strongest protection but demand perfect surface preparation. Any contamination causes adhesion failure in these high-performance coatings. Their durability and chemical resistance make the extra cleaning effort worthwhile for high-traffic areas or commercial applications.
Regional Considerations for Long Island Concrete Maintenance
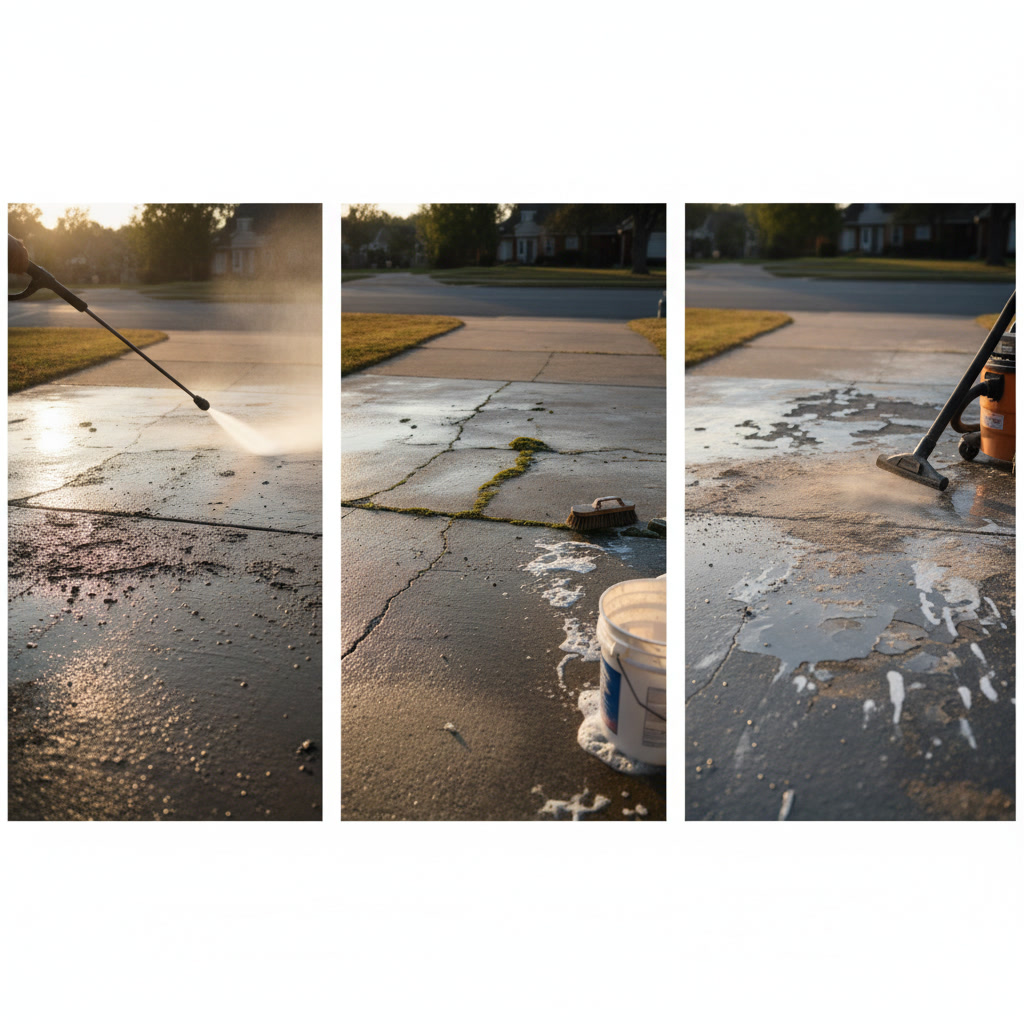
Coastal proximity brings unique challenges to concrete maintenance across service areas. Salt spray from nearby waters accelerates concrete deterioration, making regular cleaning and sealing more critical than in inland locations. Winter road salt compounds this problem, creating a corrosive environment that attacks both concrete and reinforcing steel.
Properties in communities like Medford, NY and Sayville, NY benefit from annual cleaning and sealer inspection, with full resealing every three to five years depending on traffic and exposure. The investment in professional preparation pays dividends through extended concrete lifespan and maintained property value, much like how curb appeal improvements protect home value.
Professional Equipment Versus DIY Cleaning Methods
Consumer-grade pressure washers typically output 1,500 to 2,500 PSI, insufficient for deep concrete cleaning. They remove surface dirt but leave embedded contaminants that compromise sealer adhesion. Professional equipment delivers consistent pressure through specialized surface cleaners that prevent the streaking and etching common with residential machines.
Chemical selection also separates professional from DIY results. Over-the-counter degreasers lack the concentration and formulation to dissolve heavy oil contamination. Professional-grade products use industrial surfactants and solvents that break molecular bonds in petroleum-based stains, lifting them from concrete pores rather than just lightening their appearance.
Protecting Your Investment Through Proper Sequencing
Understanding that cleaning must precede sealing protects both your concrete and your budget. The time and cost invested in thorough professional cleaning extends sealer life from months to years, reducing long-term maintenance expenses while keeping your driveway looking its best.
JV Power Washing INC has spent over 20 years perfecting the cleaning and preparation process that makes sealer applications last. Licensed and insured with a five-star HomeAdvisor rating, the company serves property owners throughout Long Island who want professional results without the guesswork.
Whether your driveway needs its first sealing or you are addressing a failed DIY attempt, proper cleaning makes all the difference. Schedule your professional concrete preparation by calling +16312868932 to discuss your project timeline and ensure your sealer investment delivers maximum protection and longevity.