The holiday season arrives quickly, and many Patchogue homeowners find themselves scrambling to decorate their homes in early December when the best installers are already booked solid. Smart planning makes the difference between a stunning display that goes up smoothly and a last-minute rush that leaves you standing on a ladder in freezing temperatures. This guide walks you through the complete timeline for christmas light installation, ensuring your home shines bright all season long.
Whether you hire professionals or tackle the project yourself, understanding the optimal schedule helps you avoid common pitfalls and create the display you’ve been envisioning. The process starts much earlier than most people realize.
When to Start Planning Your Holiday Lighting Display
August and September are the ideal months to begin thinking about your holiday lighting plans. This might seem absurdly early, but professional installation companies in Patchogue, NY start filling their calendars by late summer.
During these early months, you should inventory your existing lights and decorations. Test each strand to identify burned-out bulbs or faulty wiring. Making a list of what needs replacing gives you plenty of time to shop for exactly what you want, rather than settling for whatever remains on store shelves in December.
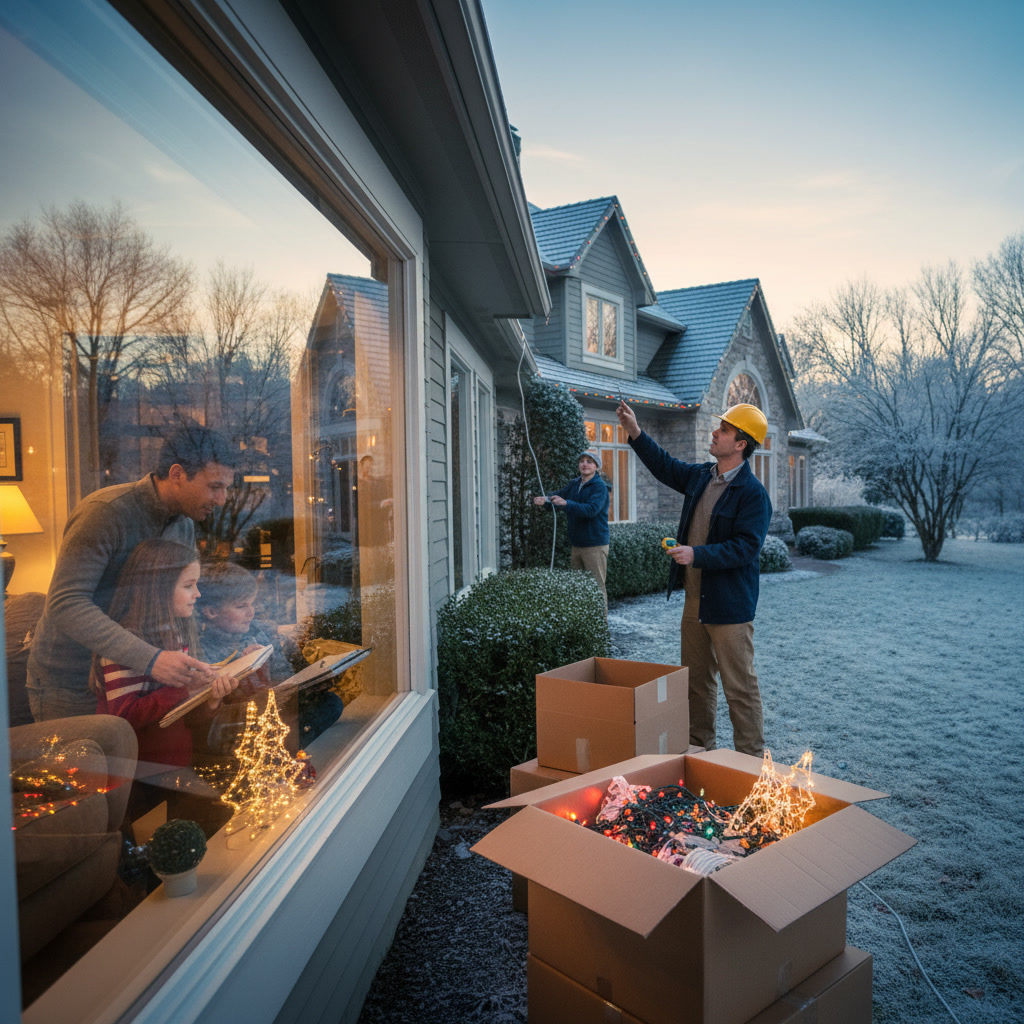
This is also the perfect time to sketch out your design concept. Walk around your property and note which areas you want to highlight. Consider rooflines, trees, walkways, windows, and architectural features. Take measurements of these areas so you know exactly how many feet of lights you’ll need.
Pro Tip: Take photos of your home from the street during daylight. Print them out and sketch where you want lights placed. This visual planning tool helps you spot opportunities you might otherwise miss and ensures balanced coverage.
October: The Sweet Spot for Booking and Purchasing
October is when you should finalize your plans and commit to either hiring professionals or proceeding with a DIY installation. If you’re hiring a company like JV Power Washing INC, this is the month to lock in your installation date.
Professional installers typically offer early-bird pricing in October, and you’ll have first choice of installation dates. Waiting until November means competing with hundreds of other homeowners for limited slots. Many quality companies are completely booked by mid-November.
Making Your Purchase Decisions
For DIY installations, October gives you access to the full selection of lighting products before the holiday rush depletes inventory. LED lights have become the standard for good reason. They use 75% less energy than incandescent bulbs, last up to 25 times longer, and stay cool to the touch, reducing fire risk.
When shopping, calculate your total footage needs and add 10-15% extra for overlaps and spacing adjustments. Professional-grade C7 or C9 bulbs create a more polished look than mini lights, especially on rooflines and large trees.
You’ll also need proper mounting hardware. Avoid staples and nails, which damage shingles and siding. Instead, invest in clips designed for your specific surface type: gutter clips, shingle tabs, or adhesive hooks for siding.
November: Installation Window Opens
The first two weeks of November represent the ideal installation window for the Patchogue area. Temperatures typically remain mild enough for comfortable outdoor work, daylight hours are still reasonable, and you beat the Thanksgiving rush.
If you’re handling installation yourself, pick a dry day with temperatures above 40 degrees. Cold weather makes plastic clips brittle and fingers numb, slowing your work considerably. Check the extended forecast and choose a weekend with favorable conditions.
Safety Considerations for Installation Day
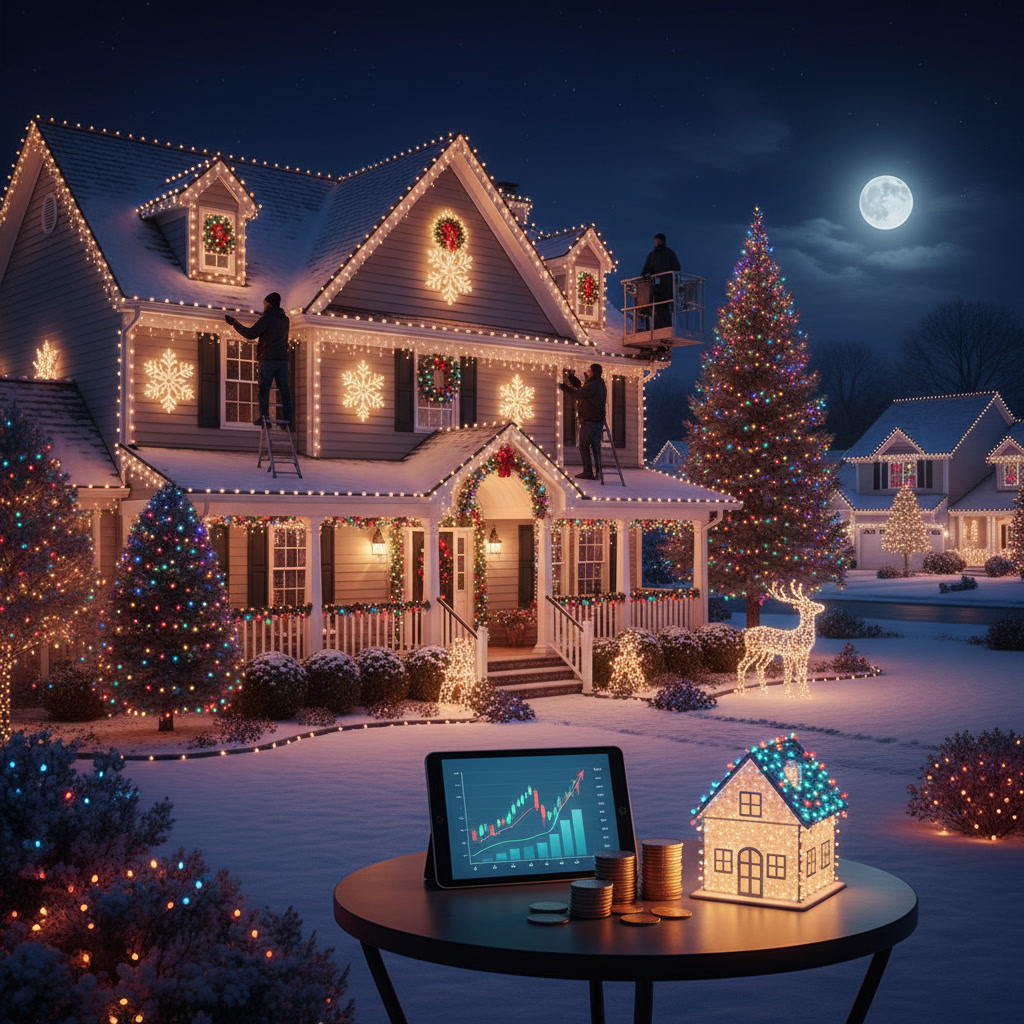
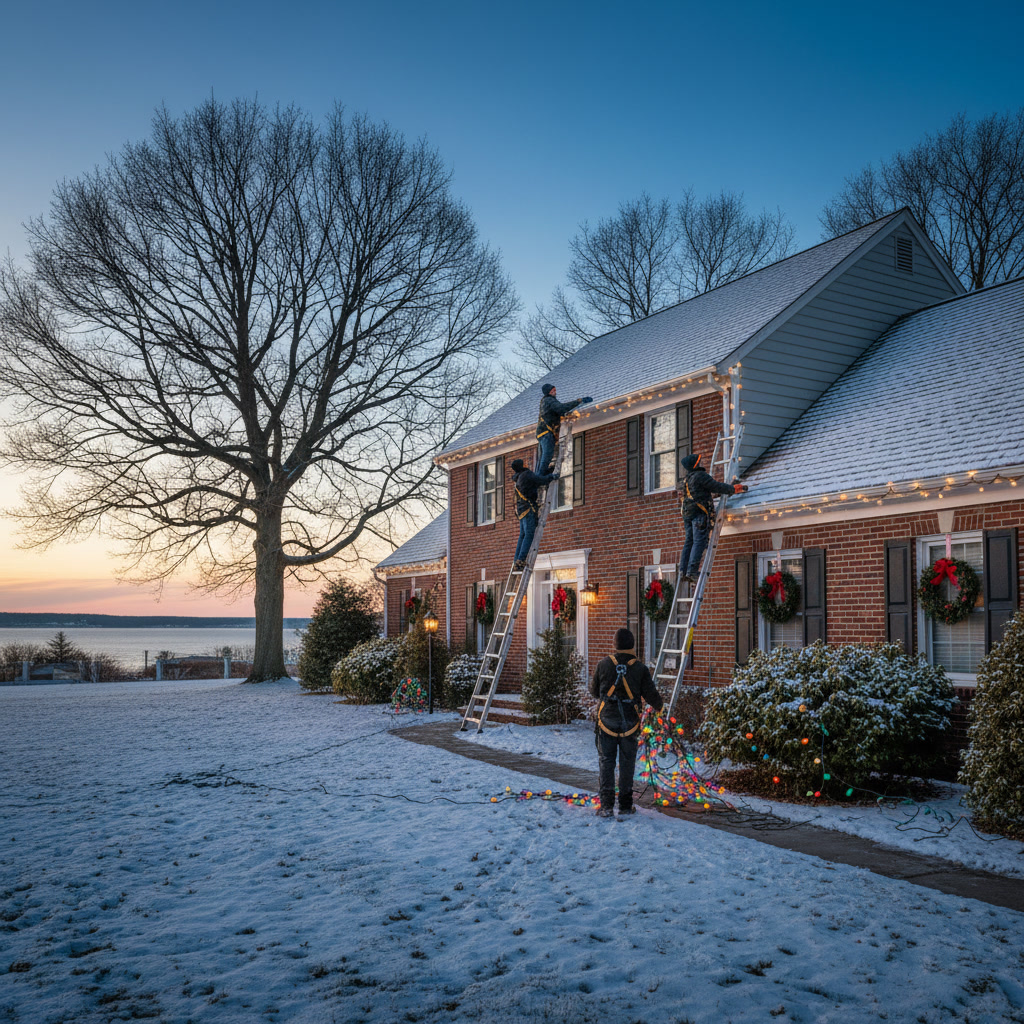
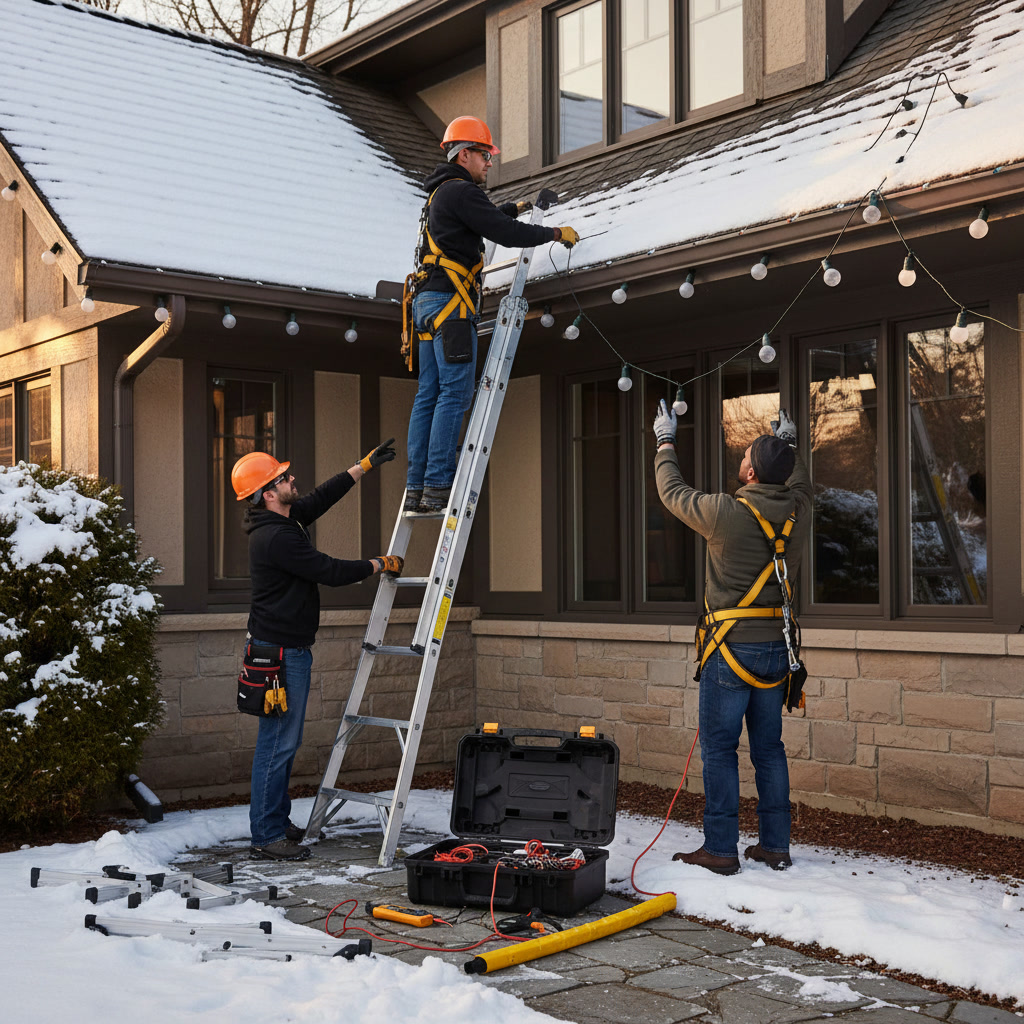
More than 15,000 people visit emergency rooms each year for holiday decorating injuries. Most involve falls from ladders. If your display requires working above single-story height or navigating steep roof pitches, professional installation makes sense from a safety standpoint alone.
For ground-level and lower installations, use a sturdy ladder rated for your weight plus the weight of materials you’re carrying. Have a helper steady the ladder and hand up supplies. Never overreach. Move the ladder frequently instead.
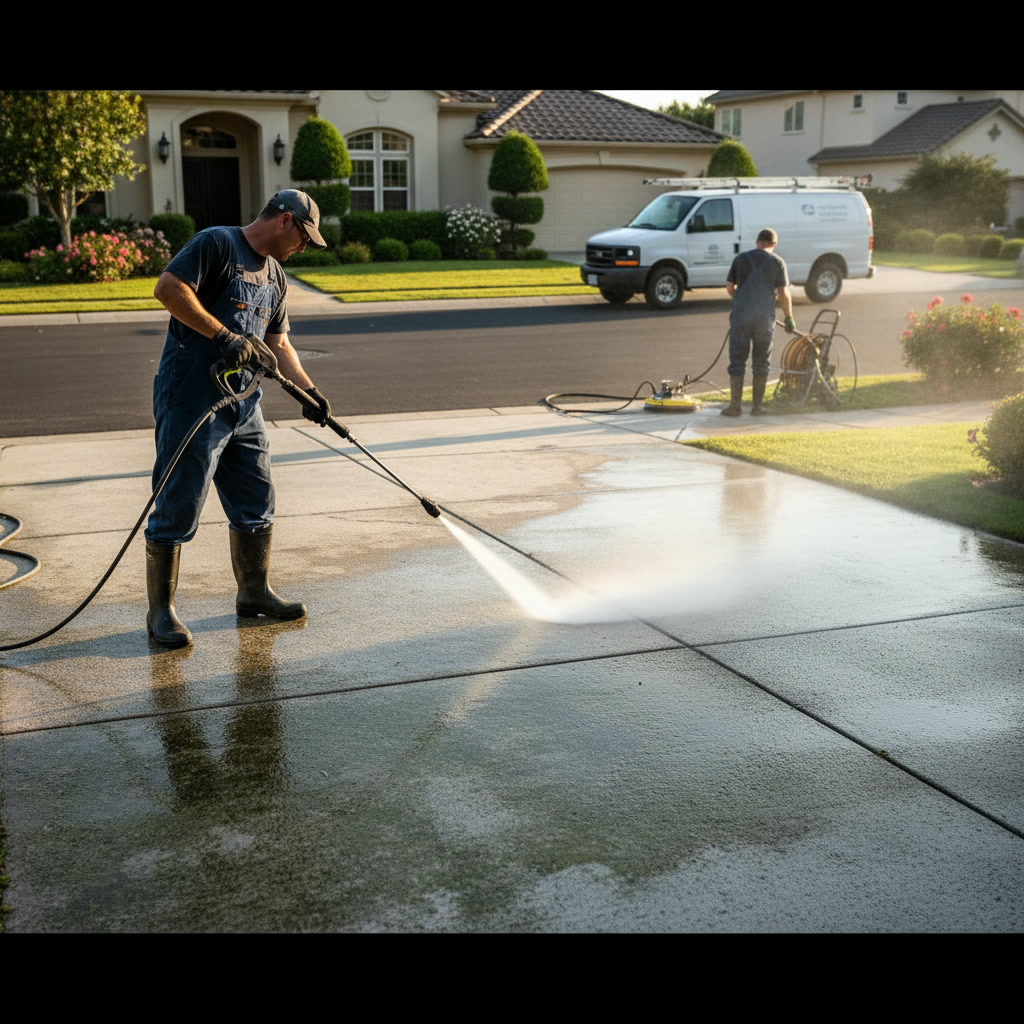
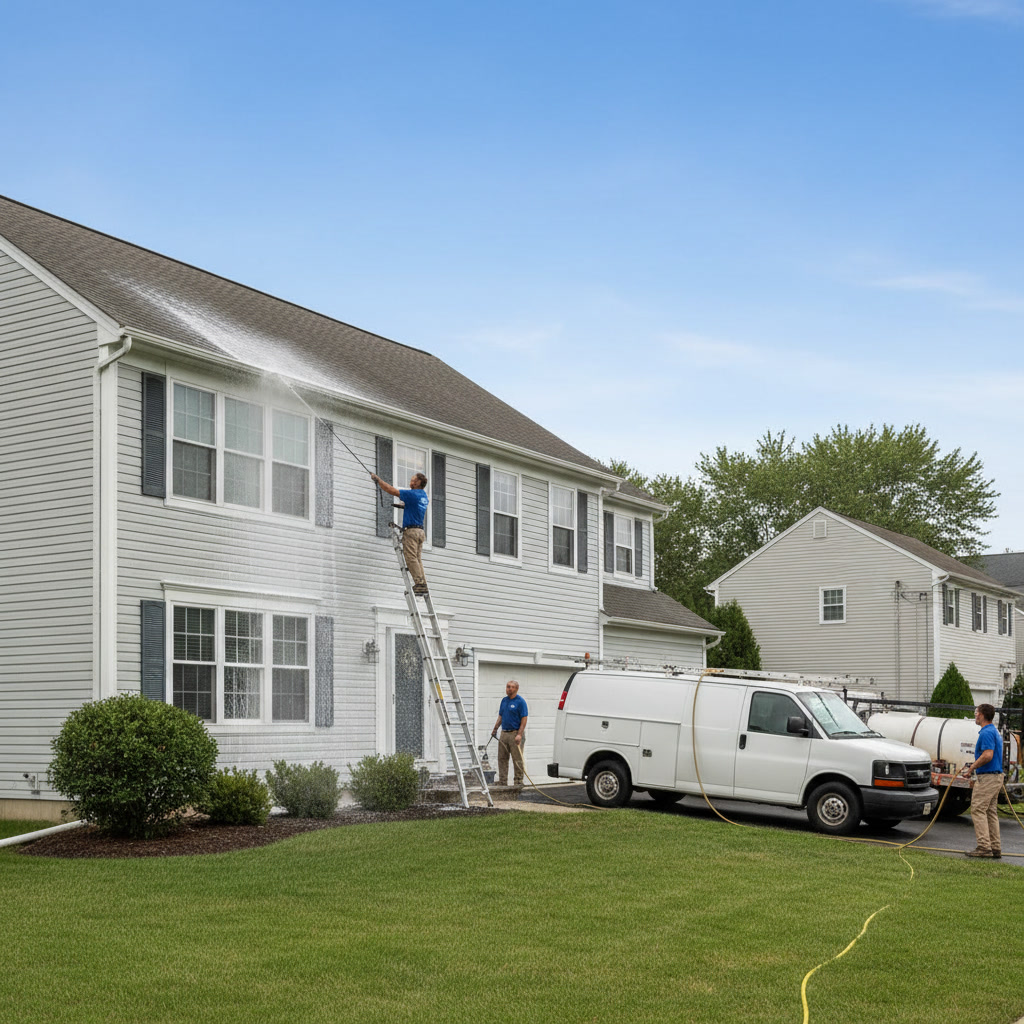
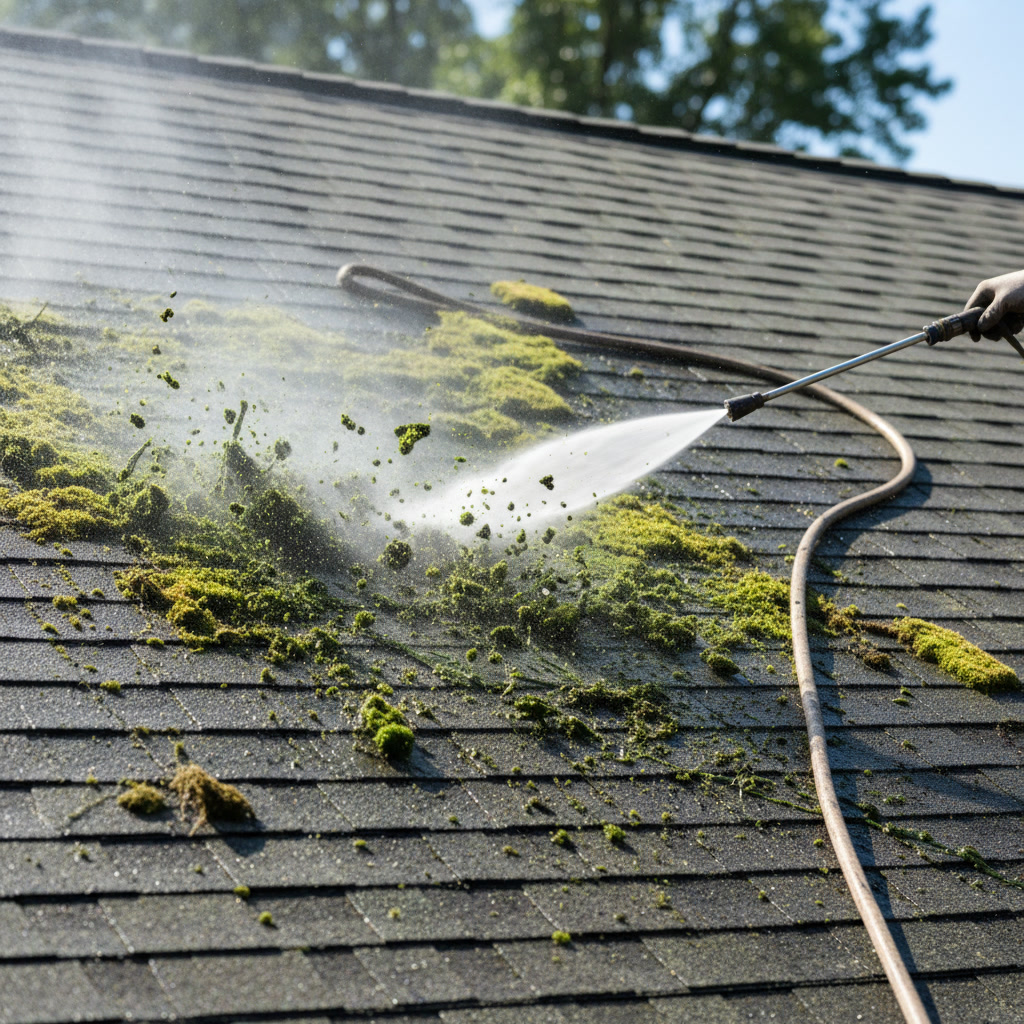
Always check for overhead power lines before handling long strands of lights or extension poles. Maintain at least 10 feet of clearance from any power lines. Just like maintaining your home’s exterior requires attention to detail, much like pressure washing services that prepare surfaces before decoration, christmas light installation demands careful preparation.
Testing and Troubleshooting Before the Big Reveal
After installation but before Thanksgiving, conduct a full test of your entire display during evening hours. This gives you time to address any issues before the official holiday season begins.
Walk across the street and view your home from multiple angles. Look for dark sections, uneven spacing, or areas that need more or less illumination. Check that timers are set correctly and that all connections are secure and weatherproof.
Outdoor connections should use GFCI-protected outlets and weatherproof covers. Wrap electrical tape around plug connections, then insert them into outdoor-rated cord protectors. This prevents moisture infiltration that causes shorts and outages.
Managing Power Loads Safely
Most standard outdoor outlets are on 15-amp circuits. LED lights draw minimal power, but you still need to calculate your total load. A typical 100-count LED strand draws only 7 watts, meaning you can safely connect about 40 strands to a single 15-amp circuit.
Incandescent lights draw far more power. A 100-count incandescent strand uses about 40 watts, limiting you to roughly seven strands per circuit. Exceeding these limits trips breakers or, worse, creates fire hazards.
If your display requires more power than available circuits provide, consider hiring an electrician to install additional outdoor outlets. This one-time investment pays dividends for years of safer, more elaborate displays.
Display Activation and Maintenance Schedule
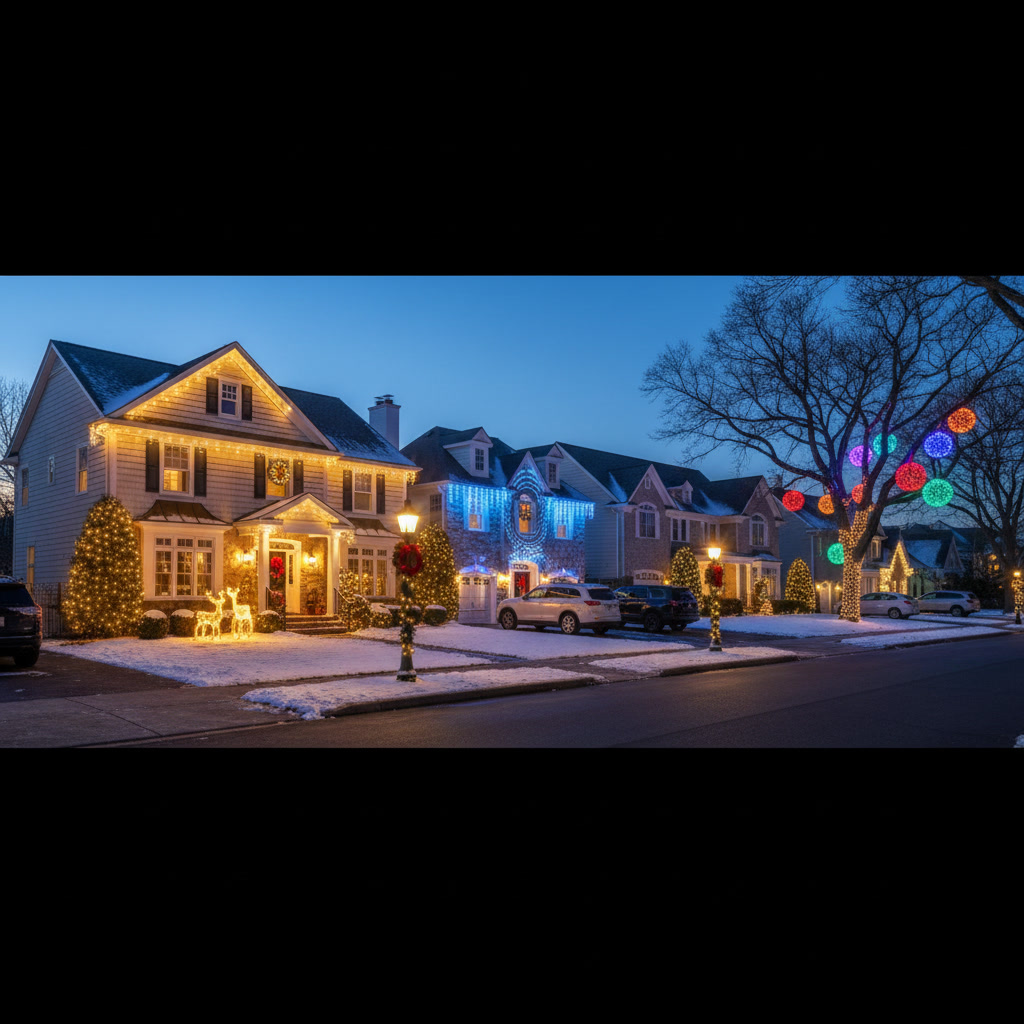
Most Patchogue neighborhoods see lights begin appearing the weekend after Thanksgiving. This timing aligns with tradition and gives you the full holiday season to enjoy your work.
Set your lights on timers to activate at dusk and turn off around 10 or 11 PM. This schedule balances visibility with energy conservation and neighborhood courtesy. Some prefer an automatic dusk-to-dawn sensor, though these keep lights burning through early morning hours when few people are awake to appreciate them.
Check your display weekly throughout December and early January. Snow, ice, and wind can loosen clips or damage strands. Walking your property once a week allows you to catch and fix small problems before they cascade into larger failures.
Key Takeaway: Winter weather in Suffolk County can be harsh on exterior decorations. After significant storms, inspect your lights for damage and clear any ice or snow buildup that might pull strands loose or create safety hazards.
The Often-Overlooked Takedown Timeline
While everyone focuses on installation timing, few plan adequately for removal. The result is decorations still hanging in February, detracting from your home’s appearance rather than enhancing it.
Plan to remove lights between January 2nd and mid-January. This gives you the full holiday season plus a few days of transition, but prevents the tired, neglected look of decorations left up too long.
Choose a mild day for takedown, just as you did for installation. Cold makes plastic brittle and increases breakage. Work systematically, taking down one section at a time and coiling strands carefully to prevent tangling.
Proper Storage Prevents Next Year’s Headaches
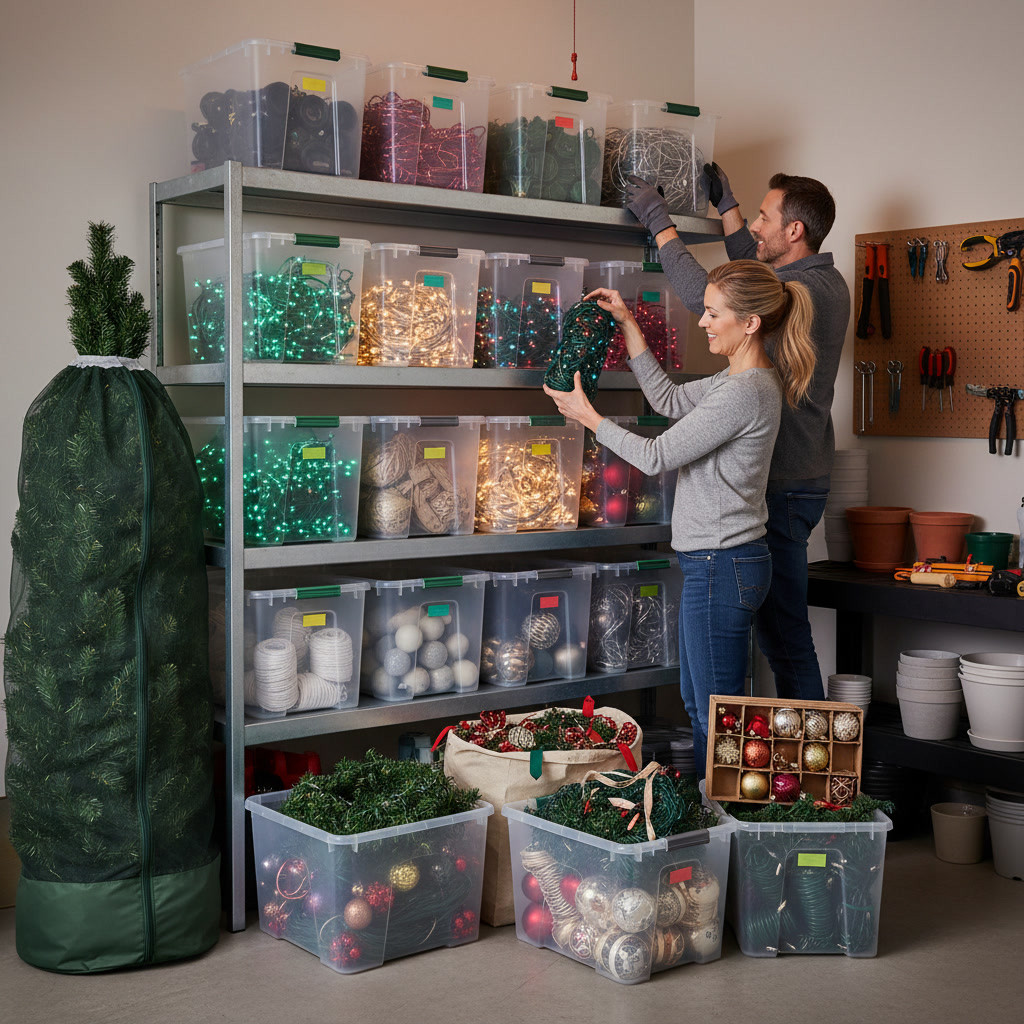
Invest in dedicated storage reels or boxes for your lights. Tangled strands waste hours of time next season and increase the likelihood of damage. Label each box or reel with its contents and intended location: front roofline, garage trim, large oak tree, and so on.
Store lights in a climate-controlled space if possible. Extreme temperature swings in unheated garages or attics can degrade wire insulation and reduce bulb lifespan. A basement or conditioned storage area preserves your investment.
Before storing, inspect each strand one final time. Discard any with frayed wires, cracked sockets, or damaged plugs. Making this assessment now, rather than next October, streamlines your future planning.
Professional Installation vs. DIY: Making the Right Choice
The decision between professional christmas light installation and DIY depends on several factors beyond just cost. Consider the height and complexity of your home, your comfort working on ladders, the time you have available, and whether you want to own and store all the equipment and lights.
Professional services handle everything from design consultation through installation, maintenance, and removal. You avoid purchasing lights, clips, extension cords, and other hardware that you’ll use only once per year. You also eliminate the safety risks inherent in working at heights.
For homes in Medford, Brookhaven, and surrounding areas, professional installation typically costs between $300 and $1,500 depending on home size and display complexity. This includes takedown and storage in many cases.
DIY installation costs less upfront but requires purchasing all materials, dedicating multiple days to the project, and accepting the risks involved. For single-story homes with straightforward rooflines, this can be a rewarding project. For two-story homes or complex architectural features, professionals often provide better value and results.
Frequently Asked Questions
How early is too early to install christmas lights?
Installation in early November is perfectly acceptable and even recommended for optimal scheduling. However, most homeowners wait to activate their displays until after Thanksgiving to align with traditional holiday timing. Installing early gives you flexibility to handle the project during favorable weather without the pressure of looming deadlines.
Can I install christmas lights in cold weather?
You can install lights in temperatures above freezing, but working in 40-degree weather or warmer is significantly easier and safer. Cold makes plastic clips brittle and prone to breaking, reduces battery life in cordless tools, and makes fine motor tasks like connecting plugs more difficult. If you must work in cold weather, warm your clips and hardware indoors first and take frequent breaks to prevent numbness that leads to accidents.
How long does professional christmas light installation take?
Most residential installations take between two and six hours depending on home size and display complexity. A simple roofline installation on a ranch home might take just 90 minutes, while an elaborate whole-house display with multiple trees and landscape features could require a full day. Professional crews work efficiently because they have specialized equipment and experience with various home styles.
Should I replace all my lights with LEDs?
LED technology offers significant advantages over traditional incandescent bulbs. They last 20 to 25 times longer, use about 75% less electricity, generate minimal heat, and are more durable. The upfront cost is higher, but most homeowners recover the difference within two to three seasons through energy savings and reduced replacement needs. If your current incandescent lights still work, finish out the season with them, then transition to LEDs as strands fail or when you’re ready to upgrade.
What should I do if my lights keep tripping the circuit breaker?
Circuit breaker trips indicate you’re overloading the circuit. Calculate the total wattage of all lights and devices on that circuit and ensure it doesn’t exceed 80% of the circuit’s capacity (typically 1,440 watts for a standard 15-amp circuit). Distribute your lights across multiple circuits, upgrade to LED lights which draw far less power, or have an electrician install additional outdoor outlets on separate circuits to handle your display needs safely.
Planning Creates Stress-Free Holiday Displays
Starting your christmas light installation planning in late summer or early fall transforms a potentially stressful project into an enjoyable experience. By following this timeline, from August planning through January takedown, you ensure adequate preparation time, access to the best materials and services, and displays that enhance your home throughout the season.
Whether you choose professional installation or handle the project yourself, advance planning makes all the difference. Your home deserves a display that reflects the care you put into every aspect of its maintenance and appearance.
JV Power Washing INC serves homeowners throughout Patchogue and surrounding communities with professional christmas light installation services. Our experienced team handles design, installation, maintenance, and removal so you can enjoy the holidays without the ladder work. Contact us at +16312868932 to schedule your consultation and secure your preferred installation date before our calendar fills.